Marketo Engage
Modica powers your messaging solutions, including integrating your communications with the other key software you use, such as Marketo.
Using a pre-configured webhook you can use Marketo’s ‘Send Webhook’ flow step to action an Outbound SMS via the Modica platform, based on triggered activities from a Marketo Smart Campaign/Program. Follow these steps in Marketo:
Create a Webhook
- Navigate to the ‘Admin’ area of Marketo Engage
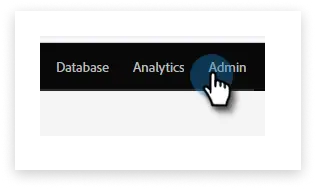
- Click ‘Webhooks’

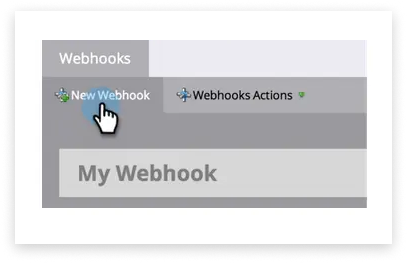
- Click ‘New Webhook’
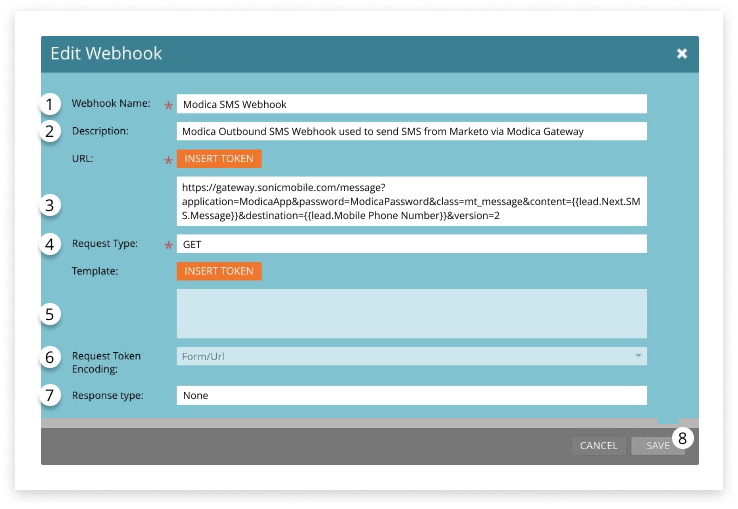
- Enter the following details into the Webhook:
-
Webhook Name: e.g. Modica Webhook
-
Description: e.g. SMS sent from Marketo
-
URL: this can be found in the HTTP API configuration document for Modica’s gateway access
-
Ensure the following details are updated for your specific Modica account:
- Modica App - this is your username for your Modica account.
- Modica Password - this is your password for your Modica account.
- {{lead.Next SMS Message}} - this is a custom field setup in Marketo where you add the “next” message content of your specific SMS message you are sending.
- {{lead.Mobile Phone Number}} - this is your main field you store Mobile numbers in for your Marketo database. For NZ numbers ensure the formatting starts with either ‘+64’ or ‘64’numbers starting with 021 or 027 or 0064 will now work.
-
Request Type: GET
-
Template: this is not required, but can include the message you will be sending out, however it is more flexible to use the {{lead.Next SMS Message}} approach and add your specific SMS content in each Marketo Program (see below how to do this).
-
Request Token Encoding: select Form/URL
-
Response Type: None
-
Click ‘Save’
Use a Webhook in a Smart Campaign
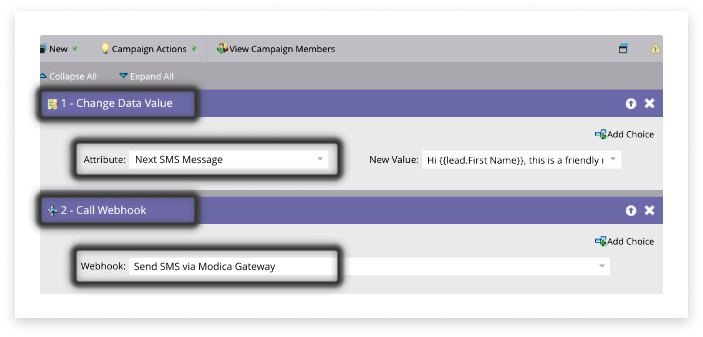
To use a webhook to send SMS, add it to a Smart Campaign as a flow action.
- Create a ‘Smart Campaign’
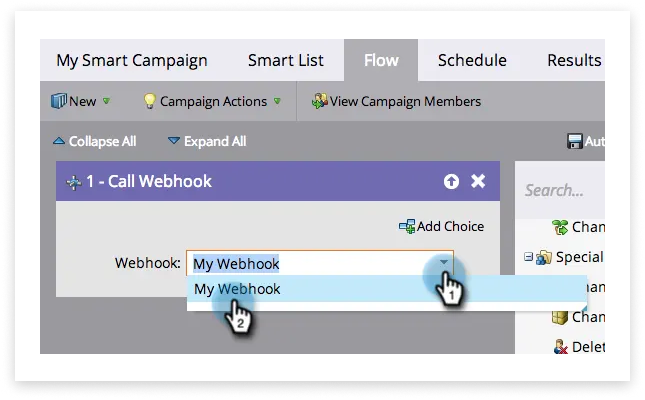
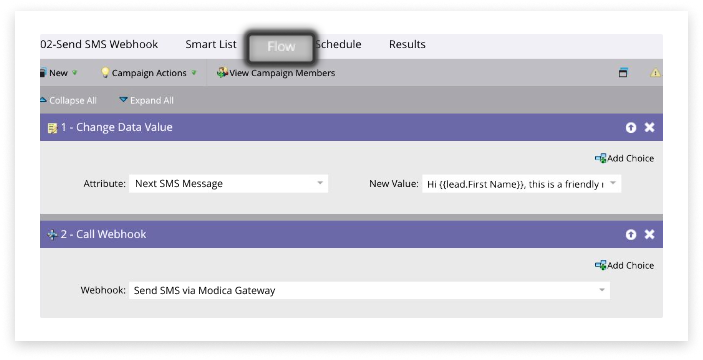
- Go to the ‘Flow’ tab and drag in the ‘Call Webhook’ flow action
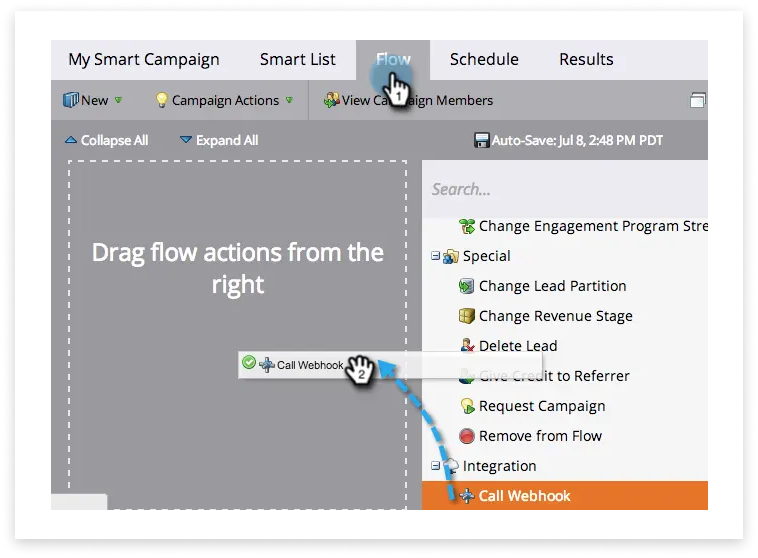
- Select the webhook by searching it’s name
Smart Lists and Flow Steps
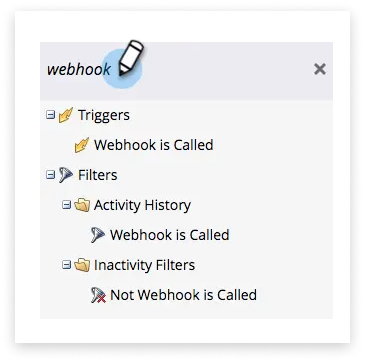
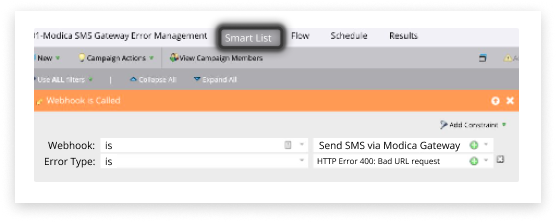
You can also use Webhooks in a Smart List:
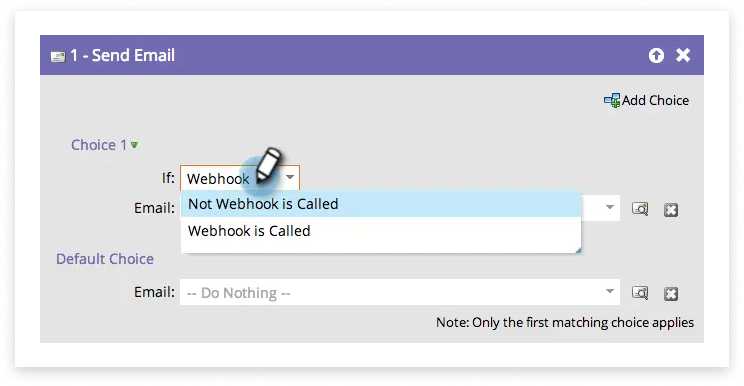
Your webhook is also available to ‘Add Choice’ in a flow step:
Turn on your Smart Campaign when tested and ready.
Additional Information
Webhooks in Marketo need to be Triggered from Smart Campaigns - batched Smart Campaigns will not send webhooks directly.
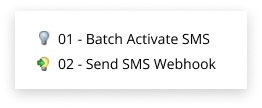
You can create an alternative batch campaign in Marketo to link to a Triggered Smart Campaign (to send your webhook) by using ‘Campaign is Requested’ Trigger in your Smart Campaign - this is a useful way to test an SMS.
This would require two Smart Campaigns in your Program (one batch, one trigger)
To connect to your 02- Triggered Smart Campaign, you would use the following Trigger.
Of course, any Trigger will work when you are using this webhook to send to people in your database, but remember to action a Webhook send, the Smart Campaign must be a Trigger.
From the 01- Batch Smart Campaign you would set your ‘Smart List’ criteria for who will qualify for the campaign, then use the Request Campaign Flow step.
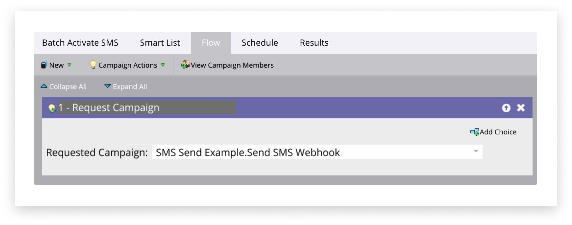
The flow in 02- (as above) will then send your SMS via Modica.
Create an Error Handling Program
It is good practice to create an Always On Operational Program that handles errors from the Webhook.
A common error if the mobile phone number format is incorrect is “HTTP Error 400: Bad URL request.”
Use the following Trigger in your Smart Campaign.
And then the following Flow step to Alert someone about the issue.